Mould is a common (and pesky) problem in many households across the UK. It can especially become a problem in bathrooms because of the persistent damp conditions and high humidity in this area.
Mould can be an unsightly issue to have in your home, but not only that, it can become a health risk if not dealt with correctly. So, are you wondering how to get rid of mould in your bathroom? You’re in the right place, as we’ve detailed how you can get every surface gleaming, and back to the safe and healthy environment you deserve. Read on to understand everything from how to remove existing mould to how build-up can be prevented going forward.
Tools and materials you’ll need
Before you begin to carry out any work to effectively remove mouldy sealant in your bathroom or walk-in shower, you’ll need a few pieces of essential tools and equipment. These are:
- A utility knife or a sealant remover tool that will cut and scrape away old sealant that has mould
- A cleaning solution to treat the area before reapplying sealant. This could be a commercial-grade mould spray, or you can make your own solution using bleach and water
- A sponge, cloth or scrubbing brush to apply and remove the cleaning solution
- Protective personal equipment such as rubber gloves and a face mask that’ll prevent you and your skin from coming into contact with any harsh chemicals or mould spores
- A new, mould-resistant bathroom sealant
- A caulking gun to neatly apply
If you have everything listed above to hand, then this will ensure a smooth process when you go to tackle any mould in your bathroom.
How to get rid of mould in your bathroom
We’ve detailed how to say farewell to any bathroom mould in just a few easy steps – showing that it’s simple to do yourself and keep on top of any issues.
Step 1: Clean the affected area
Making sure that you have your protective gear on – it’s time to get to work with an easy bathroom clean, to remove mould that may be in the area.
To do this, use a ready-to-go solution of commercial mould remover, or fill a spray bottle with a bleach solution. Your mix should be one part bleach to three parts water.
Once you’re equipped with your cleaner, spray it generously to the affected areas and let it sit for around 10 minutes.
After letting it soak into the mould for 10 minutes you can get to scrubbing. Take a brush, sponge or cloth and rub the affected surfaces thoroughly. Areas that can be commonly affected are grout between tiles, hard-to-reach areas like behind taps and hidden crevices where you keep toiletries and bottles.
Once you’ve cleaned the surface, you can now rinse off any residue. Do this easily with your bathroom shower head, or alternatively fill the bath or a bucket with fresh water and use this to wipe over the surface.
After rinsing, you’ll want to dry the surface off using an old towel or cloth.
If you want more tips on how to clean your bathroom without straining your back, click through here.
Step 2: Remove and replace bathroom sealant
Once you’re working with a clean canvas, you can now begin to remove your old, mould-covered sealant.
Most DIY stores will sell kits to help you remove old sealant, but it can also be cut away quite easily with a utility knife.
To do this, simply slice down the edge where the sealant meets the wall and pry it away.
If there are any areas that are particularly stubborn, you might find it easier to use tweezers or a small pair of pliers to pull it off.
You should now have a sealant clear area, but if there are still residual pieces, you can scrape these off carefully using your utility knife.
It’s now time to clean your surface again, particularly the part of the wall that was previously covered by sealant. By doing this it ensures any mould or mildew particles that are still lingering on the surface are killed before a new sealant is applied.
To apply a new sealant, you’ll want to put a mould-resistant bathroom sealant into your caulking gun. Using the tool, gently squeeze the formula evenly across all edges, joints and seams in your bathroom. You should make sure you’re applying this anywhere that water may leak or run – to prevent bigger mould issues happening in the future.
Once you’ve applied the sealant, you can run your finger along it to smooth it out. There are also caulking tools available at most DIY stores to give you that same seamless finish.
The sealant will take a while to cure and set to solid. Read the tube that you used for full drying times, however we’d recommend leaving it for 24 hours before using your bathroom.
Step 3: Mould-proof your bathroom for the future
Voila, all traces of mould have been cleaned and removed from your standard or disabled bathroom and it’s back to a sparkling condition. But, how do you prevent it from coming back in the future?
This step gives you practical advice on how you can avoid any mould reappearing:
Mould thrives in humid, warm environments, so the best way to improve the atmosphere of your bathroom is to make sure it’s well-ventilated. That could be by using an extractor fan, keeping windows open after showering, or even using a dehumidifier.
As well as lowering the humidity in your bathroom, it’s important to keep on top of cleaning. There are plenty of mould prevention cleaners that can be incorporated into your usual cleaning routine. Make sure you focus on those hidden spots under taps and in corners, as well as on grout, as these are the most common places for mould to grow.
Request a Free Brochure
Simply fill out a quick form and see how we can transform the way you bathe.
FAQs
What is black mould in a bathroom and why does it appear?
Black mould is a type of fungus that appears as dark green or black coloured blobs. It thrives in humid and damp conditions – hence why it appears so often in bathrooms.
Is mould in the bathroom dangerous for your health?
Mould, particularly black mould is associated with a variety of health problems, hence why we encourage anyone to follow the steps on this guide to remove it as soon as possible. That’s because inhaling spores from mould can cause respiratory issues like coughing and throat irritation. As well as that, it can have toxic effects if you’re exposed to it for a prolonged period.
How can I identify mould in my bathroom?
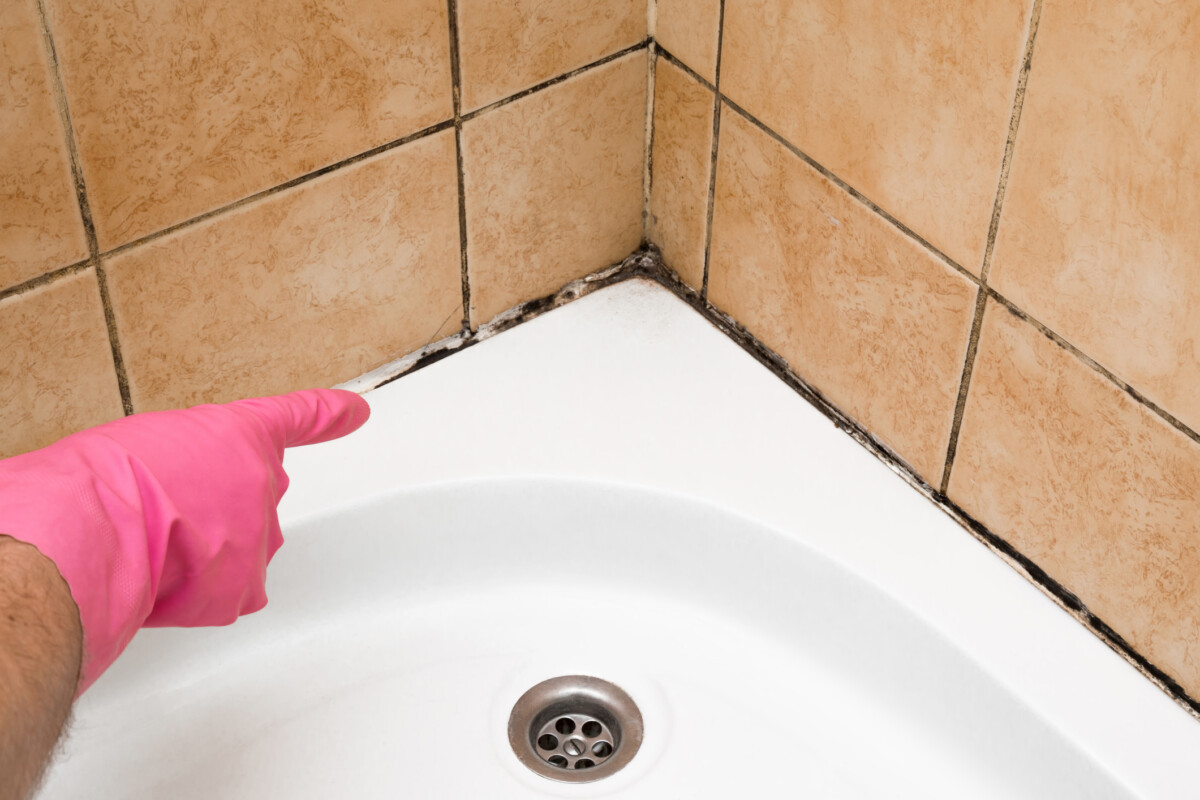
There are several types of mould that may appear in your bathroom. The most commonly recogonised due to its dark shade is black mould. This appears in dark patches and will contrast against your surfaces, making it easy to spot. White mould is a fuzzy type of mould that you might see on walls. Another way that you might first notice mould is through its scent – which is often a damp, musty smell.
Can I prevent mould from forming in my bathroom?
Yes! We’ve detailed some easy ways to prevent mould from forming. These are having good ventilation in your bathroom by opening windows and using extractor fans. It also includes cleaning regularly with preventative mould sprays.
Maintaining a mould-free bathroom is essential, not only for keeping a clean home, but ensuring its longevity. It is also vital for ensuring your own personal good health. We recommend being vigilant when spotting mould in your bathroom, and if you do come across areas of concern, to treat them as outlined in this guide.